


Framed to Frameless Shower Door: A Glimpse into an Aldora Remodel
Wondering what a framed shower door remodel entails? Watch as an Aldora glass expert takes you through the shower door installation process step-by-step using Murano hardware, specifically GH 101 glass shower door hinges, and a 3/8” heavy glass series frameless shower door.
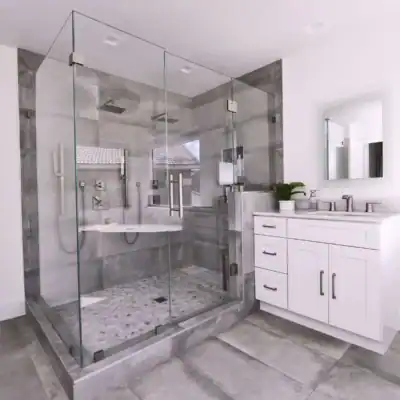
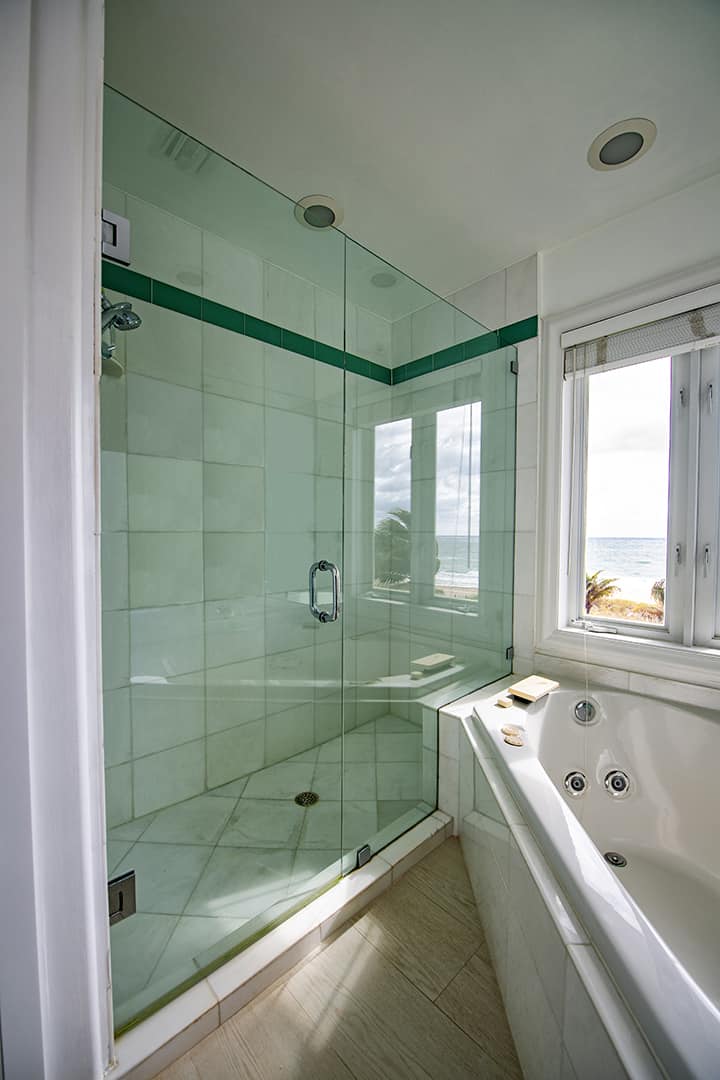
Heavy glass shower enclosure with square full plate hinges
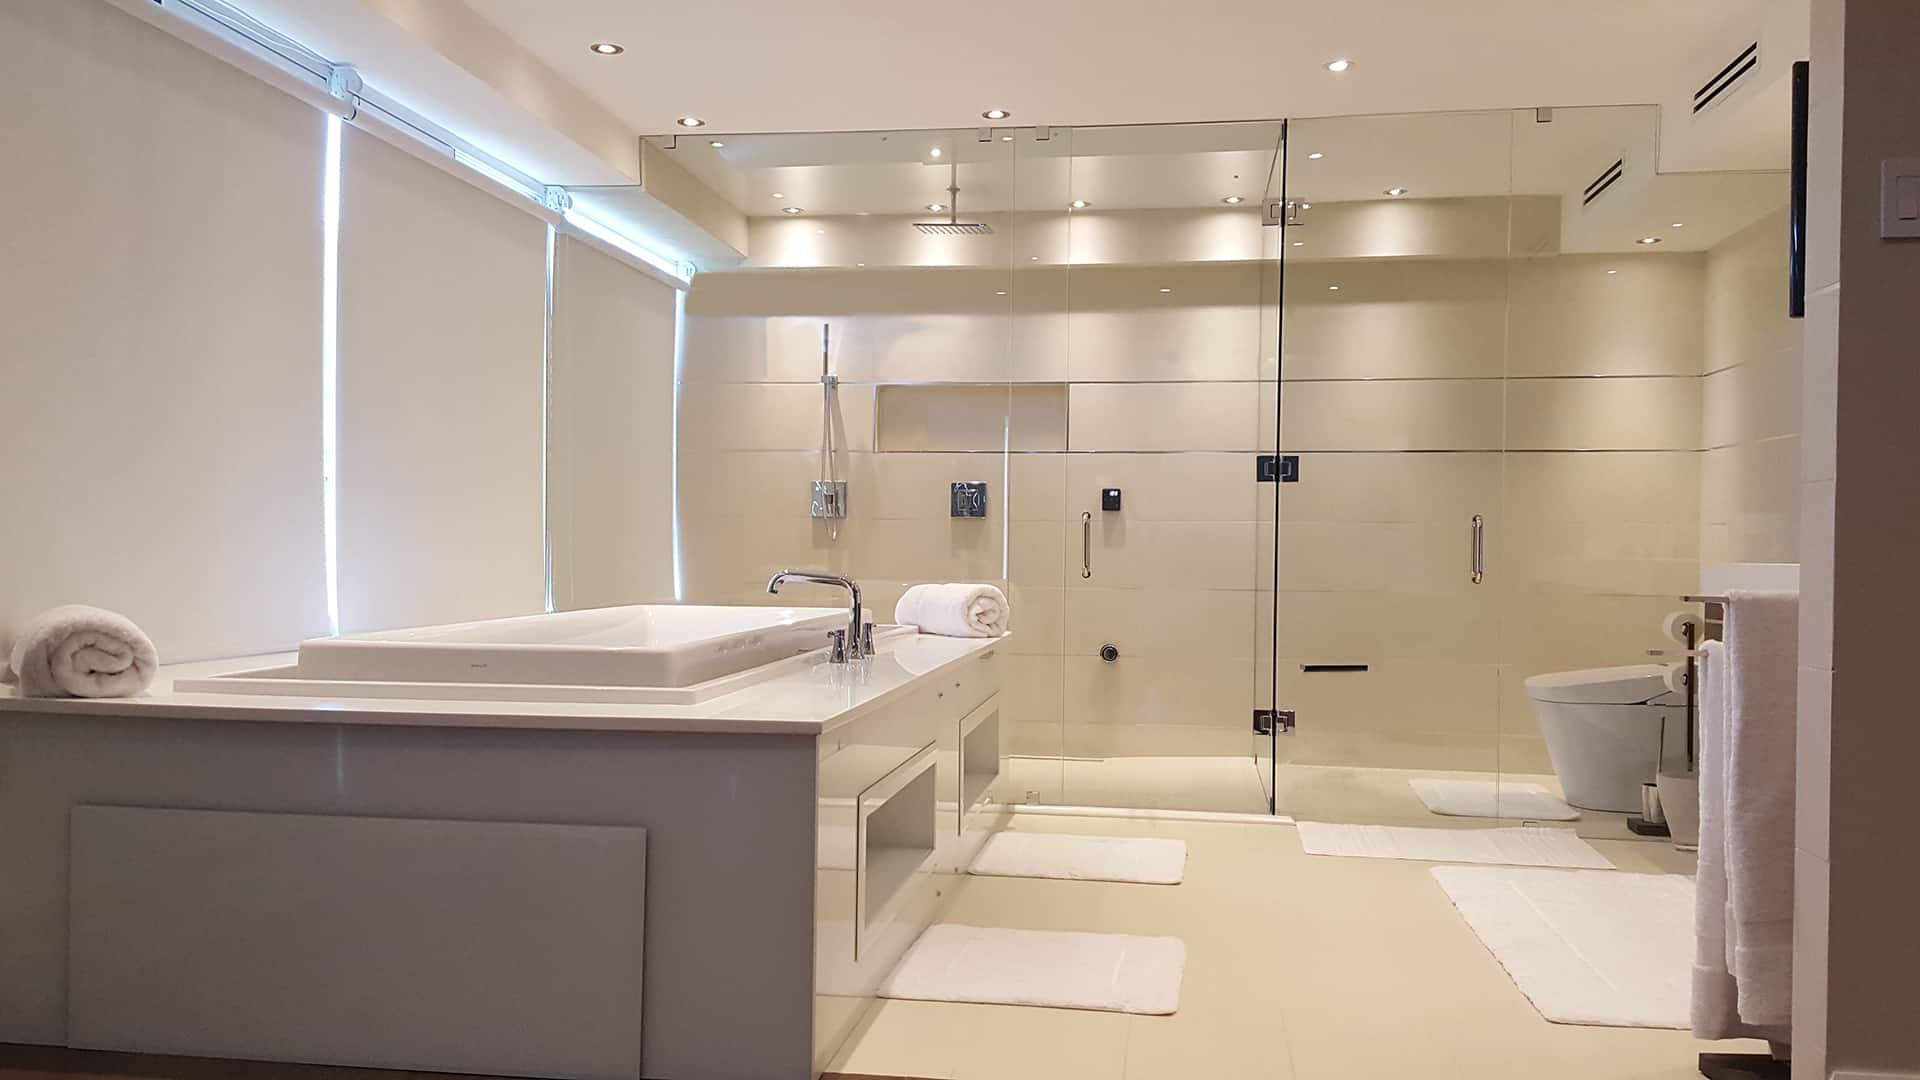
The installation above features a 3/8” heavy glass enclosure Peterson shower door accompanied by large Murano square full plate hinges and a tubular handle with washers. The hinges and handle used in this installation are available in two different sizes and a variety of finishes including brushed nickel, chrome, oil rubbed bronze and matte black to match your project’s unique style. Peterson’s heavy glass series shower doors are available in either 3/8” or ½” polished tempered glass and feature a limitless variety of sizes and configurations.
Reduce stress, choose Peterson
Products designed for easy install
Frameless shower door installation is straightforward and simple with Peterson shower doors and Murano hardware. Aldora’s glass supply is ready for a fast turnaround to meet your deadlines and quality needs. We focus on the minor details that make a big difference in installation. Whether it’s high-end luxury residential or a cost-conscious construction project, we have options that suit your specs and style. From purchase to finished product, our customer care team is here to ensure the process goes smooth and project needs are met.

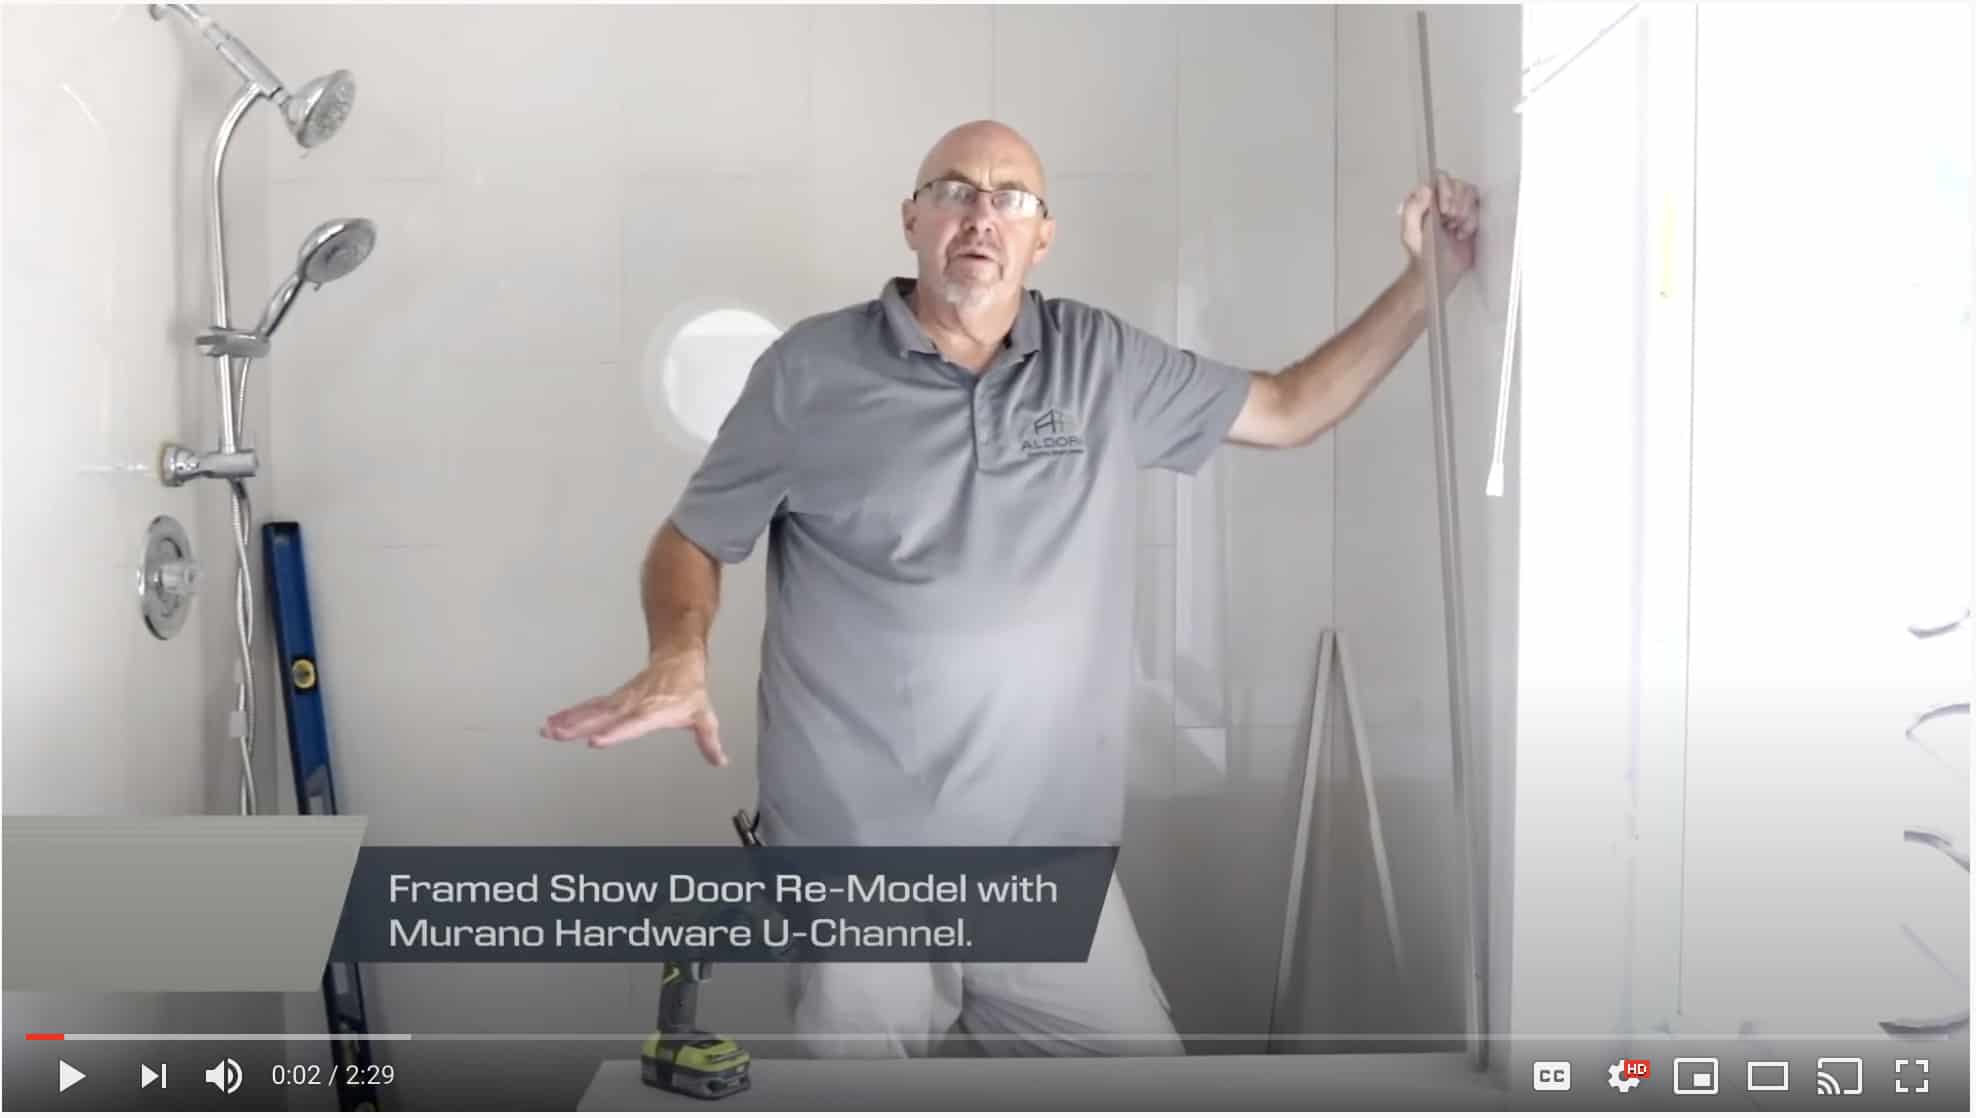
Transcript
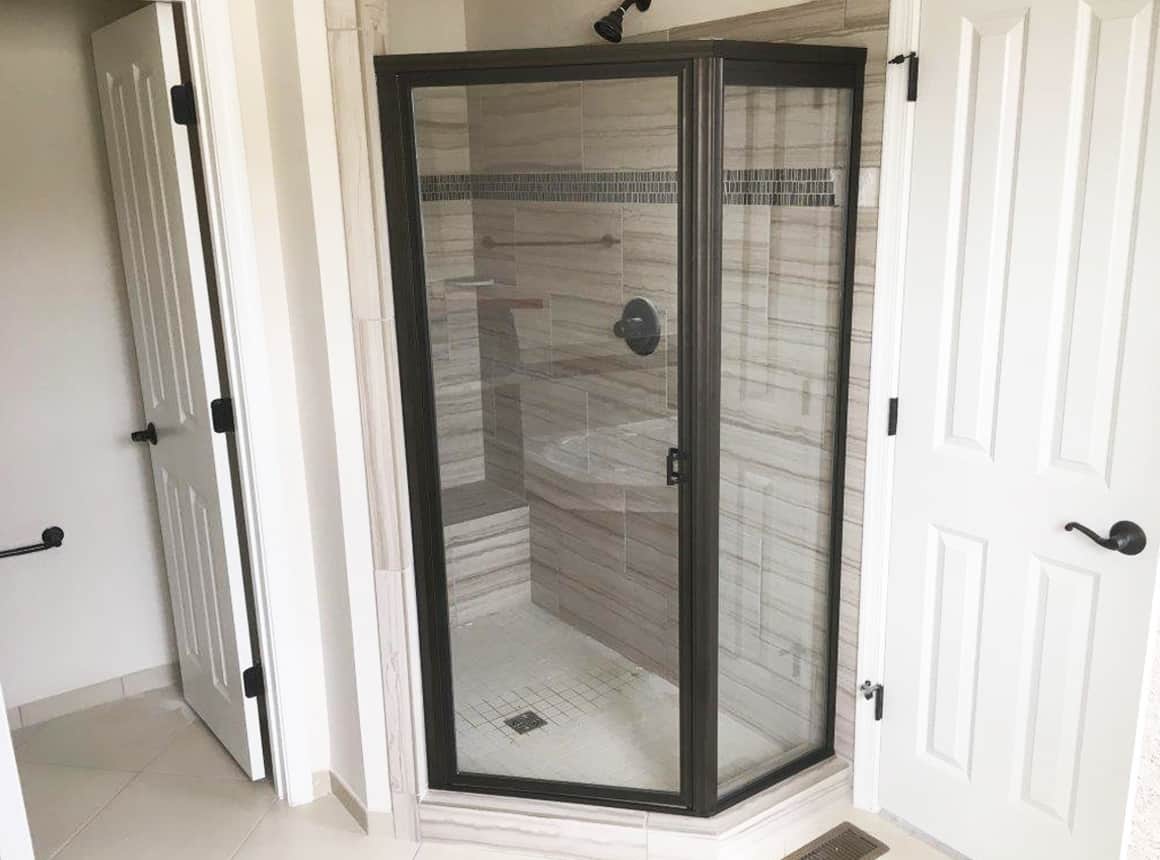
We’re doing a re-model. This was a framed shower door. We’ve cleaned up the walls, there was a framed unit here, we’re going to use the Murano u-channel, it’s already mitered.
What we’re going to do is, I’m actually going to use the original holes the guys had here ’cause it’s going to go right where we need to go. Basically, I take and drill and countersink so I get flatheads in here so we don’t have a problem with the panel. We’re going to go ahead and frame this panel up, we’re going to set the panel in, then we’re going to clean this wall up just a little bit better, fill those holes, and we’re going to put a 3/8″ unit in here. It will be a 3/8″ panel with a 3/8″ shower door.
What we’re going to do is go ahead and crack it on here I’m going to get it set up to where, I can start once I get it up on the door, the door in the opening. Basically, we’re going to put these on, this is the inside, so I just turn the door where I can get here with my screw driver.
Our panel is set, we’ve readjusted it. And now we’re going to put the handle on the door. I’ll do it while we’re right here. I want to show you, we’ve got our gaps right at the top, which really matter. Our gaps are really nice.
We’ve got an 1/8″ gap all the way down, they’ve decided they don’t want a poly here, which is perfect. This will be no problem at all to maintain. We’re going to put the inside handle on, we got to put the drip rail on, and caulk it, and this job is done.